
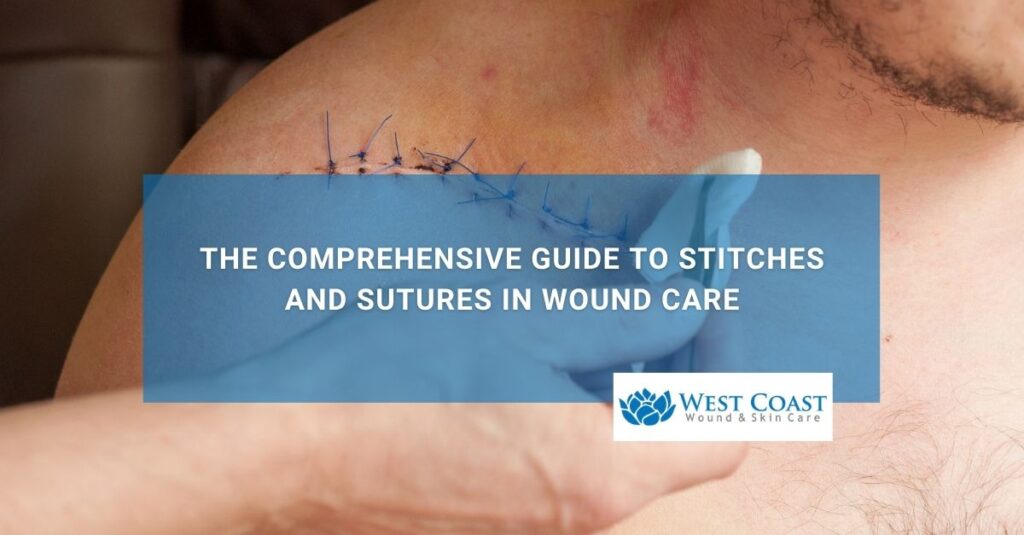
What is the difference between stitches and sutures in clinical wound care?
While the terms “stitches” and “sutures” are frequently used interchangeably in everyday conversation, they hold distinct definitions in wound care. A suture refers strictly to the actual physical medical material, such as synthetic thread, silk, wire, or absorbable polymer, used to approximate severed tissues, whereas a stitch refers to the specific technique or mechanical loop performed by a clinician to secure the suture material in place.
Sutures are essential medical devices utilized to close traumatic lacerations, surgical incisions, and deep tissue defects. By holding tissue edges in close proximity (primary intention healing), sutures minimize healing time, reduce post-operative pain, lower infection risks by closing the environmental barrier, and prevent excessive scar tissue formation.
Primary Medical Purposes of Surgical Suturing
- Anatomical Tissue Approximation: Re-aligns separated skin margins, subcutaneous fat, muscle fascia, and blood vessels to restore structural integrity.
- Hemostasis Control: Compresses microvascular blood vessels along the wound bed to halt active bleeding and hematoma formation.
- Infection Bioburden Barrier: Seals open surgical or traumatic wounds to prevent pathogenic bacteria from colonizing vulnerable deep tissue layers.
- Optimized Cosmetic & Functional Recovery: Minimizes wound gap distance, drastically reducing scar width and contracture over joint surfaces.
What are the primary types of suture materials used for wound care closure?
Suture materials are classified based on two core mechanical properties: absorbability (absorbable vs. non-absorbable) and strand structure (monofilament vs. braided/multifilament). Absorbable sutures naturally degrade in the body over time through enzymatic digestion or hydrolysis, making them ideal for deep, internal tissue layers.
Non-absorbable sutures retain their tensile strength indefinitely and are used for superficial epidermal closure or high-tension structural repairs, requiring manual clinical removal once healing is complete.
Selecting the correct suture material depends on the anatomical location, tissue tension, vascularity, and expected healing timeline.
| Suture Material Category | Strand Construction | Common Clinical Examples | Primary Anatomical Indications |
|---|---|---|---|
| Absorbable (Short-Term) | Monofilament or Braided[cite: 23] | Fast-absorbing Gut, Chromic Gut, Monocryl[cite: 23] | Superficial mucosal membranes, facial skin, rapid-healing tissues[cite: 23] |
| Absorbable (Long-Term) | Monofilament or Braided[cite: 23] | Vicryl (Polyglactin), PDS (Polydioxanone)[cite: 23] | Deep subcutaneous tissue, muscle fascia, internal organ repairs[cite: 23] |
| Non-Absorbable (Synthetic) | Monofilament[cite: 23] | Nylon (Ethilon), Polypropylene (Prolene)[cite: 23] | External epidermal skin closure, vascular grafts, tendon repairs[cite: 23] |
| Non-Absorbable (Natural/Braided) | Braided / Multifilament[cite: 23] | Silk, Braided Polyester (Ethibond)[cite: 23] | Cardiovascular procedures, ophthalmic surgery, surgical drain securing[cite: 23] |
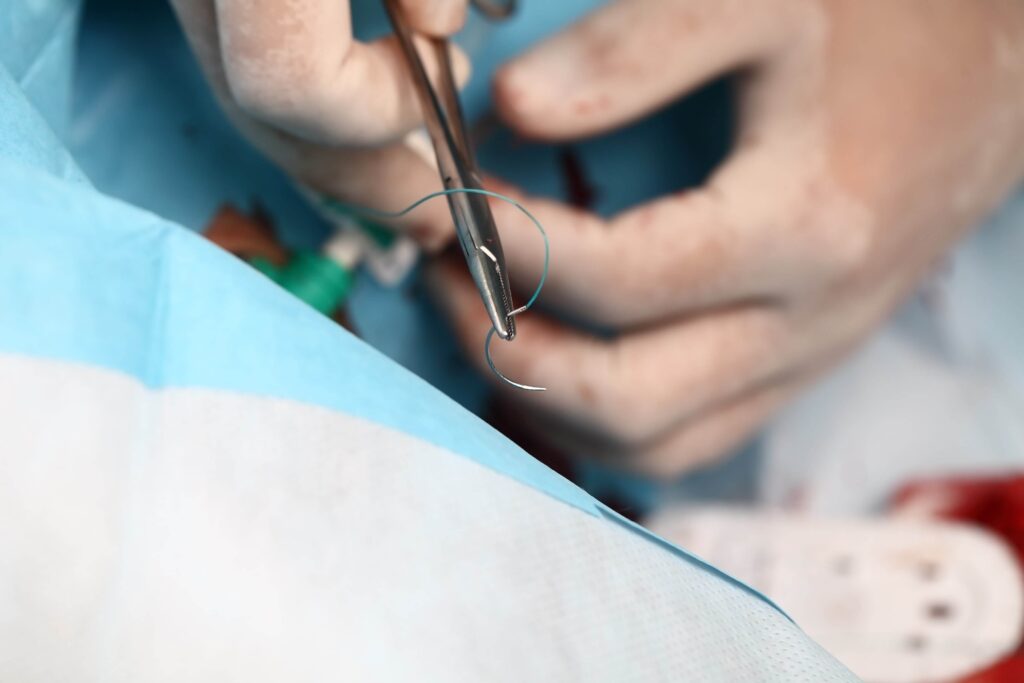
Structural Monofilament vs. Multifilament Differences
- Monofilament Sutures: Constructed from a single smooth strand (e.g., Nylon or Prolene). They slide easily through tissue causing minimal friction, but require multiple knot throws to prevent slipping. Because they lack internal fibers, they resist bacterial harboring.
- Multifilament / Braided Sutures: Composed of multiple braided strands (e.g., Vicryl or Silk). They provide superior knot security and handling flexibility, but their braided matrix can wick fluid and potentially harbor bacteria if exposed to infected environments.
How long do non-absorbable stitches stay in, and when should they be removed?
Non-absorbable stitches stay in place anywhere from 3 to 14 days, depending strictly on the anatomical location of the wound, local vascularity, and skin tension. Facial sutures are removed rapidly (3–5 days) to minimize scarring, whereas sutures over high-tension joints or extremities (such as knees, back, or feet) remain in place for 10 to 14 days to prevent wound dehiscence.
Removing sutures too early risks incisional breakdown, while leaving them in too long causes permanent “railroad track” scarring and localized suture abscesses.
A qualified clinician must evaluate the wound line for adequate tissue bridge strength prior to performing suture removal.
Face & Neck: 3 to 5 Days (High blood supply; rapid recovery; high cosmetic risk)
│
Scalp & Upper Body: 7 to 10 Days (Moderate tension; hair follicle protection)
│
Extremities & Joints: 10 to 14 Days (High mechanical tension & movement stress)
│
Palms, Soles & Foot Plantar Surfaces: 12 to 14 Days (Thick stratum corneum; heavy weight-bearing)
Suture Removal Timeline Guide by Location
- Face and Eyelids: 3 to 5 days. High microvascular blood flow allows rapid epidermal re-epithelialization.
- Scalp and Cranial Wounds: 7 to 10 days. Requires balance between hair follicle care and incisional strength.
- Chest, Abdomen, and Back: 7 to 12 days. High movement and postural tension require longer support.
- Arms, Legs, and Joint Flexor Surfaces: 10 to 14 days. Continuous movement and limb extension exert strong physical tension across incision lines.
- Foot Soles and Hands: 12 to 14 days. Thick epidermal layers and weight-bearing stress demand maximum suture retention time.
What are the essential guidelines for taking care of stitches at home?
Caring for stitches at home requires keeping the wound clean and dry for the first 24 to 48 hours, inspecting the suture line daily for infection, avoiding soaking or submerging the wound in water, and protecting the incision from physical strain or tension. Proper post-procedure care preserves suture integrity, prevents bacterial invasion, and ensures the wound heals with minimal scarring.
Following a structured daily hygiene and protection routine prevents incisional breakdown and lowers secondary infection risks.
Step-by-Step Incision Hygiene Routine
- Initial Dry Phase (First 24–48 Hours): Keep the original sterile clinical dressing clean, dry, and intact. Avoid showering, bathing, or exposing the suture line to moisture during this critical initial clotting phase.
- Gentle Cleaning (After 48 Hours): Once cleared by a clinician, gently wash around the stitches using mild soap and lukewarm clean water. Do not scrub, rub, or pick at dried blood or crusts along the suture line.
- Pat Dry Completely: Gently pat the incision dry with a clean paper towel or sterile gauze pad. Never rub the wound line with coarse towels.
- Apply Prescribed Topical Barrier: If instructed by your provider, apply a thin layer of petrolatum-based ointment or prescribed antimicrobial ointment using a clean cotton swab to keep the tissue edge flexible.
- Re-Cover with Sterile Dressing: Apply a clean, non-adherent sterile dressing or adhesive bandage to protect the stitches from friction, dust, and clothing contact.
Critical Incision Care Rules
- NO Submerging or Soaking: Avoid baths, hot tubs, swimming pools, or ocean water until sutures are fully removed and skin is sealed. Submerging softens tissue and introduces waterborne bacteria into suture tracts.
- NO Picking or Scratching: Do not scratch itching stitches or pick at surrounding scabs. Scratching introduces finger bacteria and pulls suture knots loose.
- NO Heavy Lifting or Joint Straining: Avoid strenuous exercise or heavy lifting that stretches skin across the sutured area, which can cause suture tearing or wound dehiscence.
What are the warning signs that stitches have become infected or are failing?
Warning signs that stitches have become infected or are failing include spreading surrounding skin redness (erythema), localized skin warmth, worsening throbbing pain, localized swelling, foul odor, and thick yellow or green purulent drainage oozing from suture puncture sites. Additionally, if suture material snaps, knots untie, or wound margins physically pull apart (gaping), the incision is experiencing dehiscence and requires immediate clinical assessment.
Promptly identifying these red-flag symptoms prevents localized incisional complications from escalating into deep tissue cellulitis, systemic sepsis, or severe scarring.
Infection & Failure Symptoms Checklist
- Spreading Periwound Erythema: Redness expanding more than a half-inch beyond the suture line or spreading along lymphatic channels.
- Purulent Discharge: Thick yellow, green, or cloudy fluid leaking from suture entry points or incision gaps.
- Increased Pain and Heat: Discomfort that progressively worsens days after the procedure, accompanied by noticeable heat radiating from the wound bed.
- Suture Breakdown & Gaping Margins: Physical snapping of suture material, loose dangling threads, or visible separation of skin edges exposing raw subcutaneous tissue.
- Systemic Indicators: Development of spiking fevers (above 100.4°F), chills, elevated heart rate, and generalized body fatigue.
How do mobile wound care services assist patients with stitch and suture care at home?
Mobile wound care brings specialized clinical expertise directly to the bedside to optimize recovery.
These services assist patients by delivering professional, hospital-grade suture management, incisional hygiene checks, bedside suture removal, and advanced wound breakdown care directly to the patient’s home, assisted living facility, or skilled nursing center.
For homebound elderly individuals, post-surgical patients, or mobility-impaired individuals, mobile care eliminates the painful physical burden of traveling to outpatient clinics while ensuring sutures are evaluated and removed on the exact clinical timeline required. Improper suture care or delayed removal can lead to severe infection and incisional breakdown.
Benefits of In-Home Mobile Suture & Wound Management
- On-Site Professional Suture Removal: Licensed clinicians evaluate tissue bridge strength and perform safe, painless suture or staple removal in the comfort of the patient’s living room or bed.
- Bedside Infection Control & Culture Collection: If an incision shows signs of localized infection or purulent drainage, mobile providers collect wound swabs, clean the suture line, and prescribe targeted oral antibiotics on site.
- Management of Dehisced or Failing Sutures: If stitches break or surgical margins split open, mobile specialists immediately apply advanced non-surgical closures, negative pressure wound vacs, or specialized moisture-balancing dressings.
- In-Home Caregiver Training: Educates family members and home health aides on correct dressing changes, gentle cleaning methods, and early warning signs of incisional stress.
- Reduced Transportation Trauma & Hospital Avoidance: Eliminates the strain of transporting frail or recovering post-operative patients, protecting fragile suture lines from mechanical tearing while lowering emergency department readmission rates.